Getting Started with NestJS: A Framework for Opinionated Backend Development
NestJS has gained popularity among developers for its opinionated approach to backend development. Compared to other frameworks, NestJS builds on top of Express or Fastify and introduces a structured architecture inspired by Angular. This article will guide you through the process of setting up a basic NestJS project and creating a JSON endpoint, highlighting the opinionated nature of the framework.
Setting Up Your NestJS Project
The first step is to install the NestJS CLI globally and create a new project. Run the following commands in your terminal:
npm i -g @nestjs/cli
nest new project-name
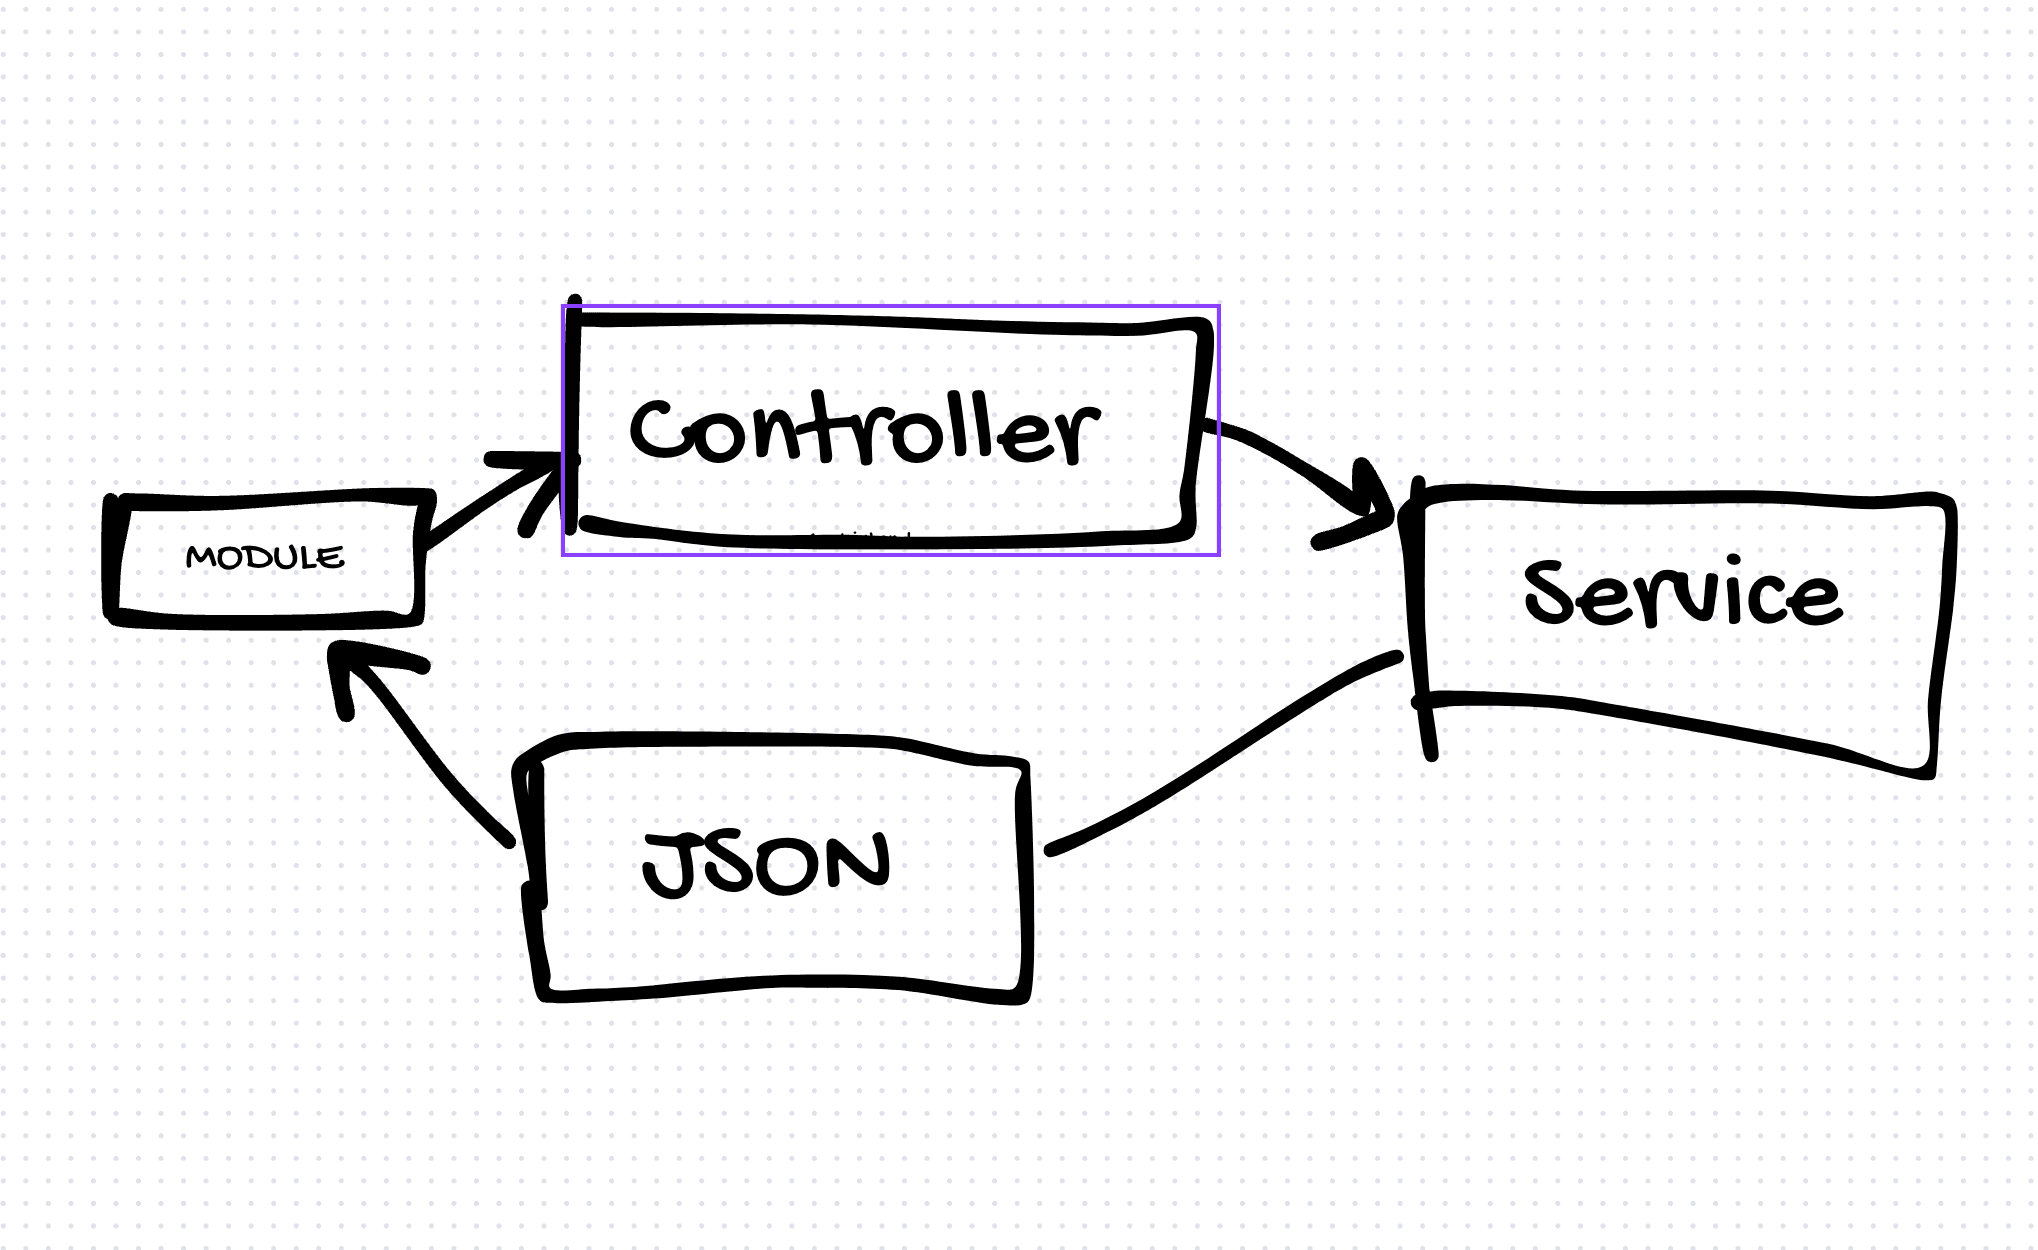
The CLI will scaffold your project, providing a set of folders and files that follow the MVC (Model-View-Controller) pattern. Notably, app.controller.ts serves as the controller, allowing you to return views as text and defining a service that connects to the database.
The entry point of your NestJS application is the main.ts file, where you can see how to start the project on a specified port. You can launch your application with:
npm run start:devCreating a JSON Endpoint
Let's say you want to create a JSON endpoint for a collection named "cats." NestJS simplifies this process by generating a controller with a single command:
nest g controller catsNow, you have a cats.controller.ts file in which you can define your endpoints. Additionally, you'll need to create a service to handle the business logic. Here's an example cats.service.ts:
import { Injectable, Res } from '@nestjs/common';

@Injectable()
export class CatsService {
  getHello(@Res() res): Response {
    return res.status(200).json({
      message: 'Hello Cats!',
    });
  }
}
Notice the use of res.status and .json to return JSON files.
Next, define the controller (cats.controller.ts):
import { Controller, Get, Res } from '@nestjs/common';
import { CatsService } from './cats.service';

@Controller('cats')
export class CatsController {
  constructor(private readonly catsService: CatsService) {}
  @Get()
  getHello(@Res() res): Response {
    return this.catsService.getHello(res);
  }
}
Finally, create a module to organize and connect the components:
import { Module } from '@nestjs/common';
import { CatsController } from './cats.controller';
import { CatsService } from './cats.service';

@Module({
  controllers: [CatsController],
  providers: [CatsService],
  exports: [CatsService],
})

export class CatsModule {}
Include this module in your app.module.ts:
import { Module } from '@nestjs/common';
import { AppController } from './app.controller';
import { CatsModule } from './cats/cats.module';

@Module({
  imports: [CatsModule],
  controllers: [AppController],
  providers: [],
})
export class AppModule {}
Now, the /cats endpoint is ready to be accessed.
Real-World Example
For a deeper understanding of NestJS in action, consider exploring a real-world example. Here, you can find a comprehensive NestJS project with a well-organized structure.
In conclusion, NestJS offers a structured and opinionated approach to backend development, providing developers with a solid foundation for building scalable and maintainable applications. As you delve further into NestJS, keep an eye out for more technical articles that can enhance your proficiency in this powerful framework. Happy coding!
