Writing Storybook Stories for Button Components
In this article, we'll explore how to write Storybook stories for button components using TypeScript. Storybook is a powerful tool for developing UI components in isolation, and writing stories allows us to showcase and test these components in various states.
Storybook is a development environment for UI components. It allows us to visualize different states of our components and interact with them in isolation. Button components are one of the most common UI elements in web development, and writing stories for them helps ensure they behave as expected in various scenarios.
Writing Storybook Stories
Now, let's start writing stories for our button component. We'll demonstrate different variations of the button, including primary, secondary, disabled, and hover states.
import type { Meta, StoryObj } from "@storybook/react";
import Button from "./Button";
import { Theme } from "../../types/theme";
import IconBookMark from "../Icons/IconBookMark";
import IconAngleRight from "../Icons/IconAngleRight";
import { waitFor, within, expect, userEvent } from "@storybook/test";
import { fn } from "@storybook/test";

// Define metadata for the stories
const meta = {
  title: "Button",
  component: Button,
  tags: ["autodocs"],
  args: { onClick: fn() },
} satisfies Meta<typeof Button>;

// Export the metadata
export default meta;

// Define a type for the story object
type Story = StoryObj<typeof Button>;

// Primary button story
export const Primary: Story = {
  render: (args) => <Button {...args} />,
  args: {
    children: "Button",
    theme: Theme.Primary,
  },
  play: async ({ args, canvasElement, step }) => {
    const canvas = within(canvasElement);
    await step("Click", async () => {
      await userEvent.click(canvas.getByRole("button"));
    });
    await waitFor(() => expect(args.onClick).toHaveBeenCalled());
  },
};

// Primary button with icon story
export const PrimaryWithIcon: Story = {
  render: (args) => <Button {...args} />,
  args: {
    children: "Button",
    icon: <IconBookMark />,
    theme: Theme.Primary,
  },
  play: async ({ args, canvasElement, step }) => {
    const canvas = within(canvasElement);

    await step("Click", async () => {
      await userEvent.click(canvas.getByTestId("button-icon"));
    });
    await waitFor(() => expect(args.onClick).toHaveBeenCalled());
  },
};
Explanation
- Metadata: We define metadata for the stories, including the title, component, tags, and default arguments.
- Story Object: We define a type for the story object to ensure type safety.
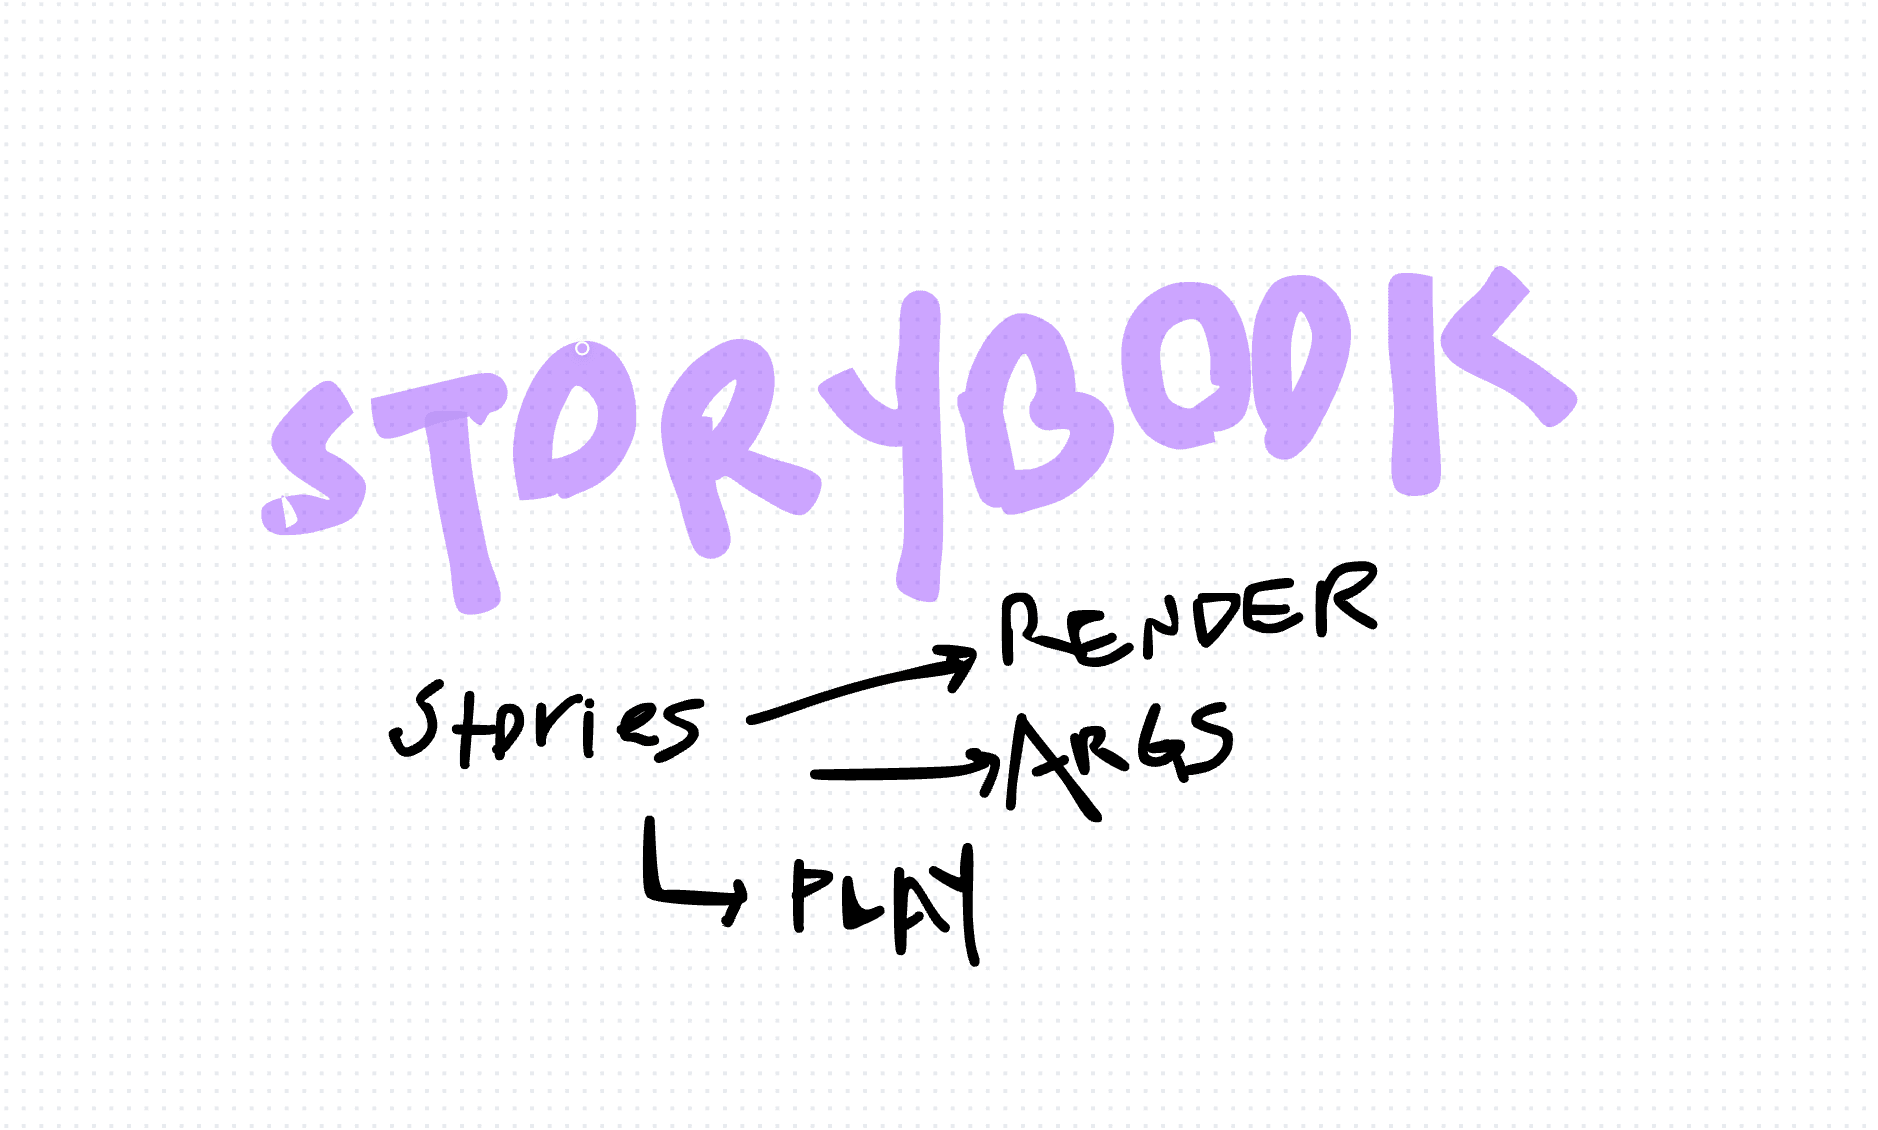
- Stories: Each story consists of a render function to render the button, args to specify props, and a play function to interact with the button and test its behavior.
- Interactions: We use the userEvent library to simulate user interactions such as clicks and hovers on the button.
- Assertions: We use waitFor and expect to assert that certain actions, like clicks, have occurred as expected.
Writing Storybook stories for button components is essential for ensuring their functionality and behavior in different scenarios. By following the steps outlined in this article and leveraging TypeScript, we can create robust and testable button components in Storybook.
References
- Storybook Documentation: https://storybook.js.org/
- Testing Library Documentation: https://testing-library.com/
- Storybook Testing Utilities: https://github.com/storybookjs/storybook/tree/next/lib/regressions/test
